Email and Password
If you have performed all the tasks successfully in the previous section, you already have a working email and password authentication up and running with-in minutes. Your users can now do perform the following tasks :
- Create an account
- Visit their profile page (if authenticated)
- Update their email with a secure verification link
- Update their profile information (if authenticated)
- Reset password
What's In The Package ?
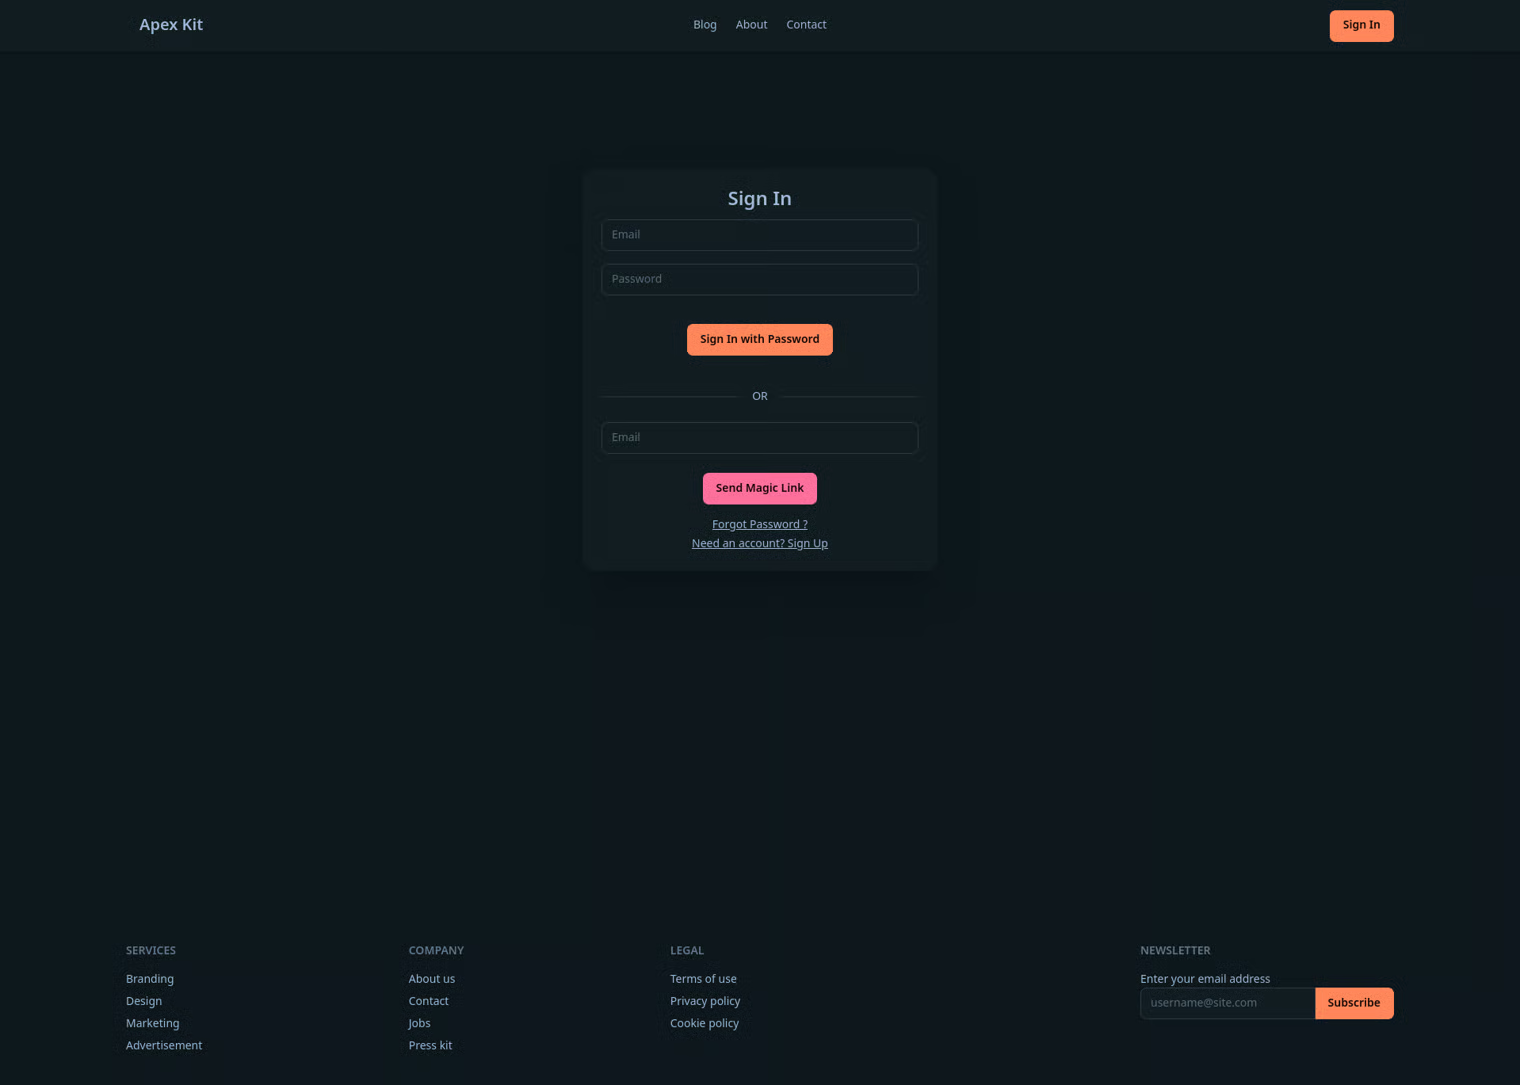
- Sign-Up form
- Sign-In form
- Profile page
- Reset password page
- Email provider configuration
- Auth actions
signUpsignInWithPasswordsendMagicLinkrequestPasswordResetresetPasswordupdateEmail- A
requireAuthmiddleware for authorization
Pages
All of the pages are kept in their named directories respectively as per the NextJS requirements and industry standards. In order to keep things organized and clean, these pages only consist the JSX and minimal logic required. This is a purely opinionated choice to keep the code-base balanced between single responsibility and readable in order to keep it maintainable. \
\
In addition to that, the Sign In, Sign Up, Reset Password, and Forgot Password pages are intentionally rendered client-side , respectively. This is because they are for the most part small forms that need interactivity to communicate with users about progress. Using useActionState really helps in keeping code clean
On the other hand, the Profile page is rendered on the server-side with an assumption that ideally your business needs will require you to add more things under profile . Rendering this will allow better loading times when you need to fetch a lot of data, provide snappy user experience like updating username , and serve as a hub to render other server or client side components as per your business need.\ \ An example for this would be.
-
Updating username
- Relies on server action
- Start editing the field, its intuitive
- Snappy reflection as user see their name updated right away
-
Updating Email
- A client-side rendered modal wrapped inside Profile page
- Is not supposed to be used often, multi-click action
- Needs client interactivity (response) since change email requires more filtering than username. In addition to some tiny behaviors like closing upon Esc key or backdrop click
Actions
It can often get messy to have conditionally rendered JavaScript, CSS with HTTP requests and their error handling all in one file. And it can often lead to repeated code. A much cleaner approach would be to keep them separated. But an action file for each page which only contains one function can make navigation difficult and may still fail at keeping the code DRY.
ApexKit handles this my keep all authentication functions in a single auth.ts
It further uses a custom type that is used through authentication functions for standard error handling.
And we encourage you to use the same pattern for a maintainable code-base.
Security
- No duplicate emails , this works for both creating a new account and updating an email.
- When a user updates their email, a new verification email is sent to that new email.
- A regex filter for email to make sure its the correct format.
- About password, there is only a simple password filter to make sure that its at least four characters. This is intentionally kept simple for manual testing but can be easily modified to meet your standards.
{% hint style="warning" %} Its a must that you ship your project with a better password filter when you are ready for production.